







A waterproof electrical box should be selected as a specified outdoor enclosure assembly, not simply as a container with a high protection number. For street and parking-area lighting, compare its usable internal space, mounting arrangement, service access, environmental suitability and included parts. The word waterproof does not establish unlimited immersion resistance or approve the equipment installed inside.
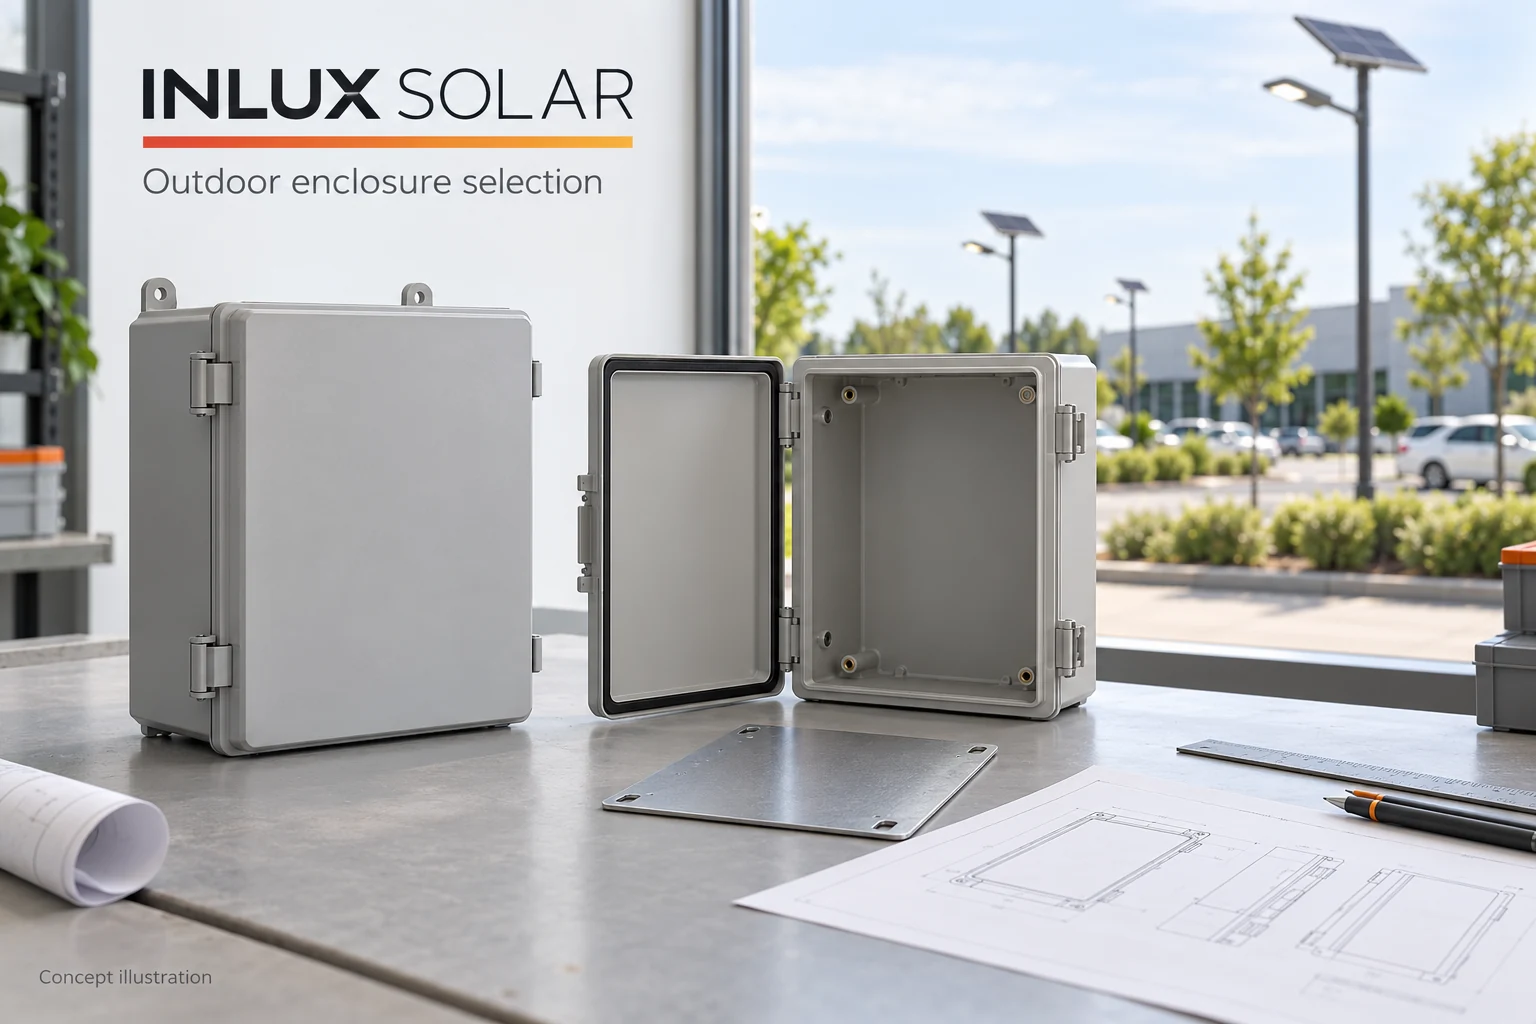
This guide addresses project procurement, not household outlet repairs or instructions for wiring a cabinet. An empty junction box, a fitted terminal enclosure and a battery housing are different purchases. Start by identifying which one the lighting design actually requires; do not add a separate box to an integrated system merely because a supplier lists one as weatherproof.
Check 1: define the enclosure’s job before choosing its size
Name the equipment and location. A box may protect cable connections, contain specified control equipment or form part of another approved assembly. Its role determines the relevant drawings, internal fittings and responsible supplier. A generic outdoor box is not automatically an approved battery enclosure, electrical distribution board or hazardous-area product.
When reviewing the enclosure scope for an All-in-One solar lighting configuration, identify which functions are already incorporated in the selected model. For an All-in-Two lighting component arrangement, confirm the actual layout rather than assuming that a separate panel means a separate controller cabinet. Procurement follows the specified configuration, not the architecture name alone.
Write the scope in one sentence: what is enclosed, where it is mounted, who supplies the internal equipment and who approves the finished assembly. If those answers are missing, comparing box prices is premature. A very inexpensive empty shell can be the wrong comparison against a supplied, assembled and documented unit.
Check 2: compare usable space, not only outside dimensions
Catalogue dimensions can describe the outside body, the internal cavity or an available mounting surface. These are not interchangeable. Polycase’s outdoor junction-box catalogue lists internal and external dimensions separately and offers different materials and mounting features. That distinction is useful; the final layout still needs a model-specific review.
Obtain the proposed enclosure drawing and the equipment layout. A removable mounting plate, terminal rail, lid hardware or cable entry can occupy space that looks available in an external photograph. Check the usable mounting area and depth with the intended accessories fitted. Do not select a box solely by multiplying three external dimensions to obtain a nominal volume.
The layout must also accommodate the specified cables and access needed to install and service the equipment. Bending requirements, electrical clearances and separation requirements depend on the actual components and applicable design rules. There is no safe universal percentage of spare space that this article can prescribe for every enclosure. Ask the responsible designer to confirm the arrangement rather than asking a contractor to squeeze components into a smaller box.
For example, consider a hypothetical order with two offers described as the same nominal box size. One includes a mounting plate and rail, while the other quotes only the shell and lid. The second may need additional parts and layout work before it serves the same purpose. Equal outside dimensions do not establish equal usable space, completed cost or suitability. This example is not an Inlux product specification.
Check 3: review mounting and service access together
A wall-mounted enclosure and a pole-mounted enclosure need different attachment arrangements. Identify the proposed mounting kit, the supporting structure and the assembled equipment mass. Adding a box to a lighting pole is a configuration change that needs approval; a strap that fits around the pole does not establish structural suitability or permission to drill the pole.
Ask how the mounting arrangement affects access to the lid, latches and internal fittings. A hinged lid needs opening space; a removable lid needs a safe handling and retention method under the product’s service procedure. The relevant question is not which cover type is universally better, but whether the proposed enclosure can be accessed safely in its actual location.
For a parking area, review access in relation to vehicles, pedestrian movement, surrounding equipment and the maintenance work area. A box that can be opened in a workshop may be obstructed after installation. Locking provisions and key management also belong in the procurement decision when access must be restricted; a lock does not replace electrical isolation or establish an impact rating.
Separate the manufacturer’s enclosure-mounting instructions from approval of the supporting pole, wall or structure. The quotation should identify who supplies each bracket and fixing and who checks the attachment arrangement. Do not allow an unspecified field mounting method to become an unrecorded part of the accepted design.
Check 4: specify exposure without turning waterproof into a guarantee
State rain, splash, dust, cleaning, corrosion and sunlight exposure that matter at the chosen location. Identify any credible flood or immersion scenario separately. The existing IP66 rating guide explains why a protection claim applies to a defined enclosure and assembly condition. It should not be extended automatically to all equipment on a lighting project.
Material selection also needs product-specific evidence. A metal box is not inherently suitable for every coastal installation, and a plastic box is not inherently suitable for every outdoor temperature or sunlight exposure. Ask about the specified material, finish, seals and accessories as a combination. Do not turn a generic material name into a promise of service life or electrical safety.
Heat and moisture management must be reviewed with the equipment that will be installed. An empty-box protection claim does not establish an acceptable internal operating temperature for powered devices. Any proposed vent, drain, heater or other accessory needs an approved configuration and supply scope. Do not drill drainage holes or add a vent to an existing enclosure based on this guide.
Cable entries remain a separate interface. Use the cable gland selection guide for cable geometry, thread and sealing-part identification. Here, record which entries are factory supplied, which are unused and who provides the approved fittings. Adding tape or silicone is not evidence that a mismatched assembly has become waterproof.
Check 5: compare the complete supply boundary
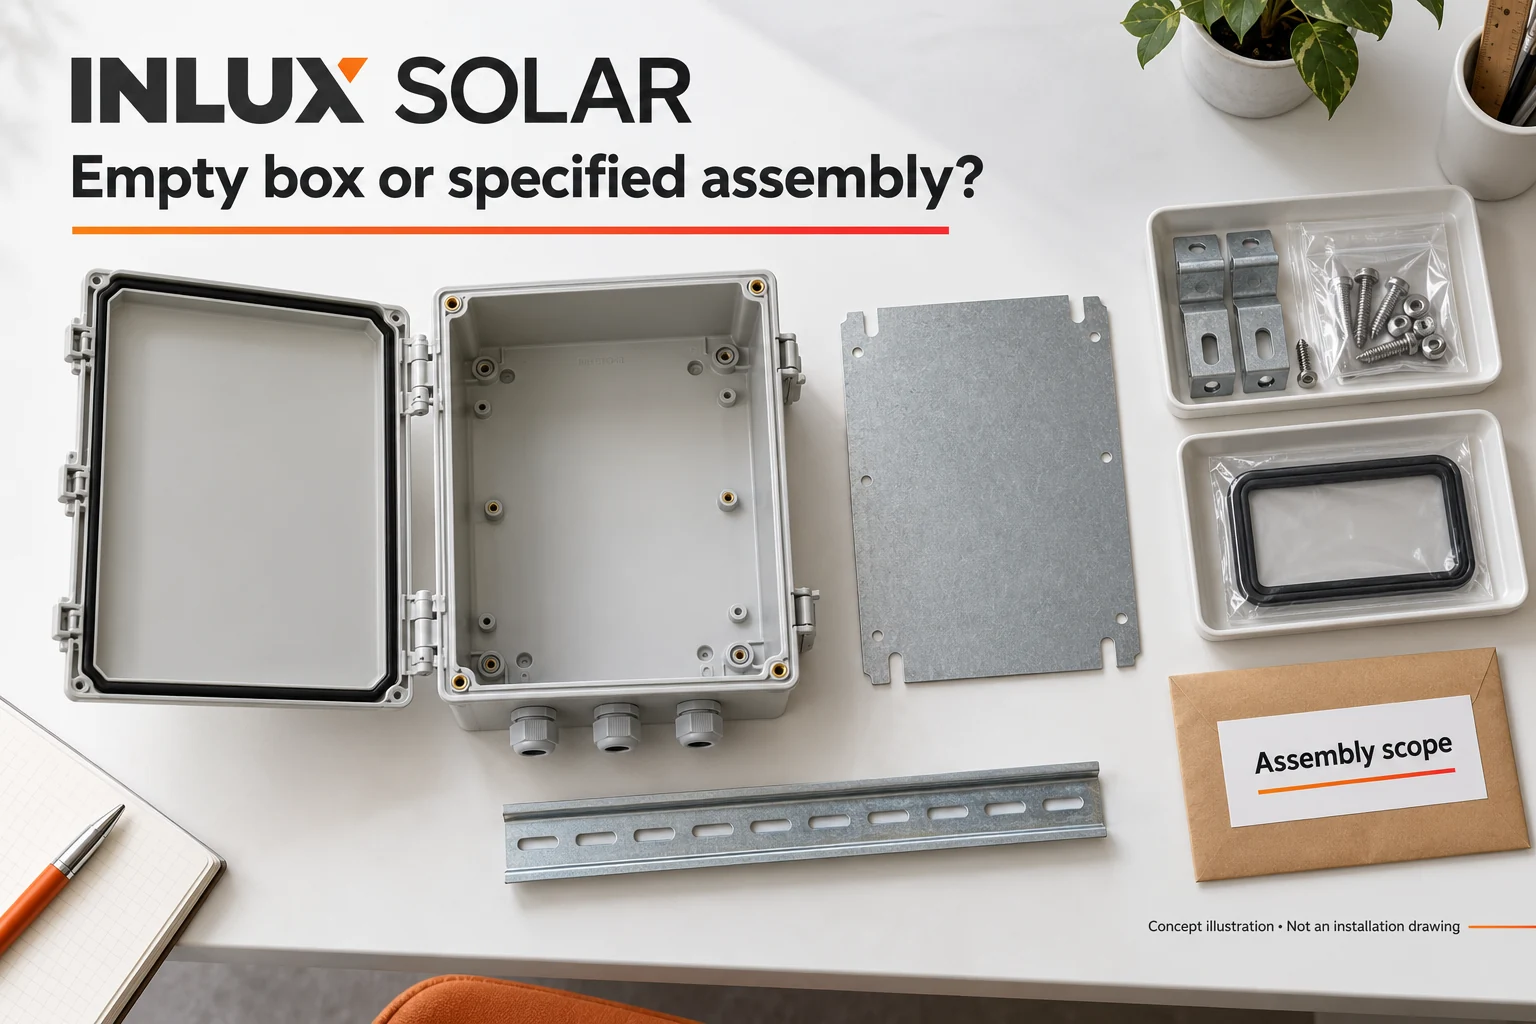
An enclosure quotation should distinguish the empty housing from the specified assembly. List the parts and work included before comparing totals. Do not assume that a picture showing an internal plate or mounting bracket means those accessories are included in the quoted part number.
| Purchase boundary | Confirm before ordering |
|---|---|
| Housing and closure | Exact enclosure, lid, seal and closure arrangement |
| Internal mounting | Required plate, rail, supports and compatible fittings |
| External mounting | Approved brackets, fixings and supporting-structure responsibility |
| Cable interfaces | Specified entries, glands, plugs and cable responsibility |
| Installed equipment | Empty, partially fitted or complete assembly; identify exclusions |
| Approval and service | Responsible assembler, documentation, acceptance and replacement route |
Keep quantities attached to the approved configuration. If a project uses more than one box arrangement, identify each separately instead of ordering one undifferentiated batch. A spare lid, seal or mounting plate also needs the correct product reference; a similar-looking component is not a confirmed substitute.
At delivery, compare the item identification, quantities and included accessories with the order. Record visible damage or an unapproved substitution before acceptance. These receiving checks do not certify an ingress rating or electrical safety. Functional checks, electrical verification and any required protection testing belong to the responsible qualified personnel using the applicable approved procedures.
If an installed box contains water or damaged equipment, follow site safety procedures and the product’s service process. Do not open energized equipment, spray it as a test or reseal it by guesswork. The repair decision must address the cause and the condition of the complete assembly; replacing the lid alone is not automatically a complete remedy.
Frequently asked questions
What is the best waterproof electrical box for outdoor lighting?
The best choice is the specified assembly that fits the equipment, site exposure, mounting and service requirements. Compare usable space and included parts as well as the supported protection claim. There is no single material, size or protection number that is best for every solar or mains-powered lighting project.
Are outdoor electrical boxes completely waterproof?
Not in every condition. Protection claims have defined scopes and conditions. An outdoor label does not automatically cover flooding, permanent immersion, every cleaning process or an altered cable-entry arrangement. Request the evidence and installation conditions for the exact supplied configuration.
Can an ordinary electrical box be made waterproof with sealant?
Do not assume that sealant creates an approved enclosure. Unspecified changes can leave the original problem unresolved and change the assessed configuration. Use a suitable specified product or a manufacturer-approved repair route, with work performed by qualified personnel under site safety procedures.
How should buyers choose an enclosure size?
Review the internal layout, usable mounting area and depth with the intended fittings installed. Include component clearances, cable routing and service access as defined by the responsible designer. External dimensions and nominal volume alone are not enough to approve the selection.
Can a waterproof junction box serve as a solar battery box?
Not automatically. A battery enclosure must be suitable for the specified battery, equipment arrangement and operating conditions. A generic connection-box rating does not approve battery installation, heat management or safety. Ask the lighting supplier for the approved configuration rather than substituting a convenient container.
Is the mounting plate included with the enclosure?
That depends on the exact quotation and product reference. Confirm the housing, plate, rail, brackets, cable-entry fittings and installed equipment separately. Retain the included and excluded items with the purchase order so receiving staff and installers use the same scope.
Request an enclosure arrangement for the lighting project
Inlux Solar has delivered 1,000+ projects across 60+ countries. These company totals provide context for project configuration management; they are not certification evidence for a particular enclosure. For commercial solar parking-lot lighting, begin with the complete lighting task and identify any separate enclosure actually required by the selected configuration.
Send the location, application, intended equipment, quantities, installation position and local supply responsibilities through the Inlux Solar enclosure-scope enquiry. Ask which arrangement is offered and what remains to be confirmed. Standalone box supply, third-party equipment integration and field modification are not promised by this guide; their availability and suitability require a project-specific response.